
Introduction
Adding a shower seat to your bathroom is a practical upgrade that enhances comfort and safety. Whether you need extra seating for convenience, accessibility, or aesthetics, knowing how do I install remodel shower seat on tile wall is essential. Installing a shower seat on a tiled wall can seem challenging, but with the right tools and techniques, you can complete the job efficiently. This guide will walk you through the entire process step by step, ensuring your new shower seat is secure, functional, and long-lasting.
Tools and Materials Required
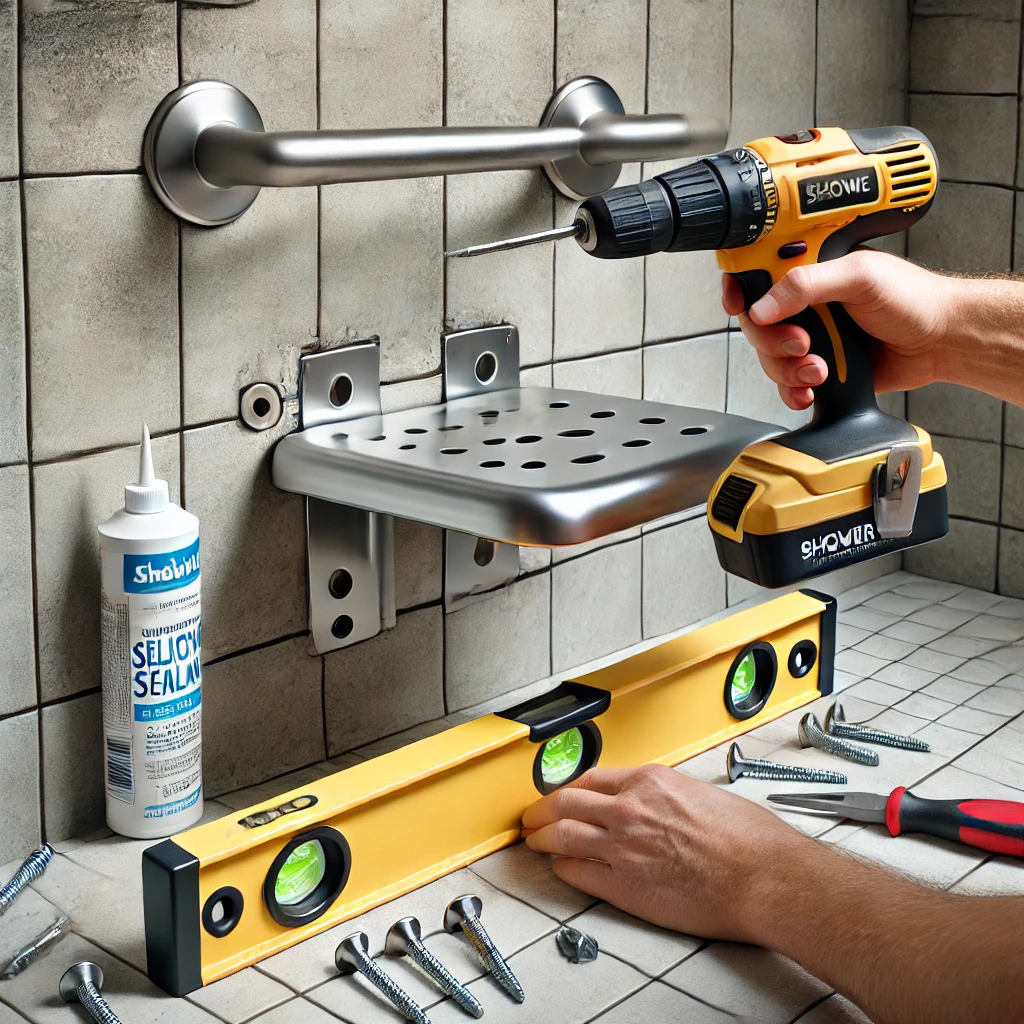
Before beginning the installation, gather the following tools and materials to ensure a smooth process:
- Shower seat or bench
- Tape measure
- Pencil or marker
- Stud finder
- Drill and masonry bits
- Anchors or toggle bolts (if no studs are available)
- Silicone sealant
- Screws (usually provided with the seat)
- Screwdriver or power drill
- Level
Step 1 Identify the Location
The first step in installing a shower seat is selecting the ideal location. Consider the height and placement that will provide maximum comfort and accessibility. Standard shower seats are installed 17 to 19 inches from the floor. Use a tape measure to mark the desired height on the tiled wall with a pencil or marker.
If the seat is for accessibility purposes, such as for someone with limited mobility, make sure the location meets ADA (Americans with Disabilities Act) standards for height and reach.
Step 2 Locate the Wall Studs
Use a stud finder to locate the studs behind the tile wall. Studs provide the necessary support for the shower seat, ensuring it stays secure and can hold weight. If possible, align the seat’s mounting brackets or screws with the studs.
If no studs are available at the desired location, you will need to use heavy-duty wall anchors or toggle bolts to secure the seat. It is essential to choose anchors rated for heavy loads, as shower seats must support significant weight.
Step 3 Mark the Drill Points
Once you have located the studs or identified where the anchors will go, position the shower seat’s mounting bracket or hardware against the wall. Use a pencil or marker to mark the exact points where you will drill holes. Double-check the alignment with a level to ensure the seat will be installed evenly.
Step 4 Drill Holes into the Tile
Drilling through tile requires care to prevent cracking or damage. Use a drill with a masonry bit suitable for tile. Apply gentle pressure and start drilling slowly at the marked points. Once you penetrate the tile, switch to a standard drill bit to continue drilling into the wall or stud.
If you are using wall anchors, follow the instructions provided with the anchors to determine the correct hole size. Make sure the holes are deep enough to accommodate the anchors or screws.
Step 5 Insert Anchors (If Needed)
If you are installing the seat without the support of studs, insert the wall anchors or toggle bolts into the drilled holes. Tap them gently into place with a hammer if needed. Ensure they are secure before proceeding to the next step.
For installations using studs, you can skip this step and move on to securing the mounting bracket.
Step 6 Attach the Mounting Bracket or Hardware
Align the seat’s mounting bracket or hardware with the drilled holes. Use screws to secure the bracket to the wall, making sure to drive the screws into the wall studs or anchors. Tighten the screws firmly but avoid over-tightening, which could crack the tile or damage the hardware.
Double-check the alignment with a level to ensure the seat will sit evenly on the wall.
Step 7 Attach the Shower Seat
Once the mounting bracket or hardware is securely in place, attach the shower seat to the bracket according to the manufacturer’s instructions. This step may involve sliding the seat onto the bracket, tightening additional screws, or snapping the seat into place.
Ensure the seat is firmly attached and does not wobble. Give it a gentle tug to confirm that it is secure.
Step 8 Seal the Edges with Silicone
To prevent water from seeping behind the seat or hardware, apply a bead of silicone sealant around the edges where the seat or bracket meets the tile wall. Use your finger or a caulking tool to smooth the sealant, ensuring it forms a watertight barrier.
Allow the silicone to dry according to the manufacturer’s recommendations before using the shower.
Step 9 Test the Shower Seat
After the installation is complete, test the shower seat to ensure it is sturdy and safe to use. Sit on the seat and apply pressure to different areas to confirm it can support weight without shifting or coming loose.
If you notice any movement or instability, tighten the screws or recheck the installation to address any issues.
Maintenance Tips for a Remodel Shower Seat
Regular Cleaning
Keep the shower seat clean by wiping it down regularly with a mild cleaner or soap and water. This helps prevent the buildup of soap scum and mold.
Check for Loose Screws
Periodically inspect the seat for any loose screws or hardware. Tighten any loose screws promptly to maintain the seat’s stability.
Reapply Sealant
Over time, the silicone sealant may wear down or develop gaps. Inspect the sealant regularly and reapply as needed to maintain a watertight seal.
Avoid Excessive Weight
While shower seats are designed to hold significant weight, avoid placing heavy objects on the seat or using it as a storage shelf to prevent unnecessary stress on the hardware.
Conclusion
Learning how do I install remodel shower seat on tile wall may seem daunting at first, but with the right tools and step-by-step guidance, it becomes a manageable task. A securely installed shower seat enhances comfort, safety, and functionality, making it a valuable addition to any bathroom.
By carefully following the installation process, locating wall studs or using appropriate anchors, and sealing the edges with silicone, you can ensure a long-lasting and reliable shower seat. With regular maintenance and care, your remodeled shower seat will provide convenience and support for years to come.